Sunday, September 11, 2022

Tessa's Vanilla Cake

 On September 11, 2001 my daughter, Olivia, was 6 months old. I had waited and waited for the day to arrive because that afternoon Olivia had her 6 month check up. If everything looked good, the doctor was going to give me the okay to start feeding her baby food.

As a new mom I was so excited. I had a special outfit all planned out. There was even a bonnet involved. This was a big deal to me because I was a foodie even back then.

I read all the articles and books about feeding babies for the first time. I had planned to start with green beans because it was recommended to start with veggies at the time. All the information said DO NOT start with sweet fruit or your baby will develop a sweet tooth.

On the morning of 9/11, I was so excited because I had taken a half day from work and was leaving at noon to take Olivia to the doctor. I laid out the green beans, her outfit, and her bonnet.
I had no idea a tragedy would occur that day. When the attacks began my husband came to find me at my cubicle (we worked together back then). We were in utter shock as attack after attack unfolded. I remember my mom calling me terrified as the plane flew into the Pentagon and then the field in Pennsylvania. At the time, it seemed the attacks would go on and and on and were getting closer and closer. No one really knew if or when the attacks would stop.

At the time I lived in a small town right outside Cleveland, Ohio and I will never forget when an announcement came over our loudspeaker at work stating that "there was a plan flying over Cleveland airspace with a suspected bomb on it." They let us leave work early. Everyone wanted to be reunited with their family and be together.

I called my mom to tell her that I was leaving work to get Olivia and my mom begged and begged me to just go home and stay safe. However, I was bound and determined to take Olivia to her doctor's appointment.

I can remember what a beautiful day it was outside. The sky was so blue and it seemed at such odds with what was happening in the world. Everyone was out and people were waving the American flag. I passed lines and lines of people waiting at the American Red Cross building to donate blood. I have never seen such a show of patriotism and unity as I did that day.

I hugged Olivia tight. I dressed her up in her cute little outfit with a bonnet. I turned the news on. In my excitement I grabbed a jar of peas instead of the green beans and I fed her food for the first time.

Olivia was happy and giggling and I was so thankful for her. I felt so sad for everyone who had lost a loved one that day and I remember feeling helpless and thinking that I had to do a better job of being thankful. I had to soak up all the good times and enjoy my family as much as I possibly could in my life. This was something I could do and would do.

Years later I would remember the vow I made that day. To be thankful and not take anything for granted. I started to get everyone to gather together as a family on that day. We would always tell Olivia how that was the day she first started eating real food. Over time it morphed into a tradition to celebrate that fact that it was Olivia's food anniversary. We started making dishes with peas in honor of her first food every year.

Over time we found the perfect pea dish, Jamie Oliver's Pasta with a Creamy Smoked Bacon and Pea Sauce and we serve it every year. All these years later and we are still gathering together. Olivia has now been eating real food for 21 years now.

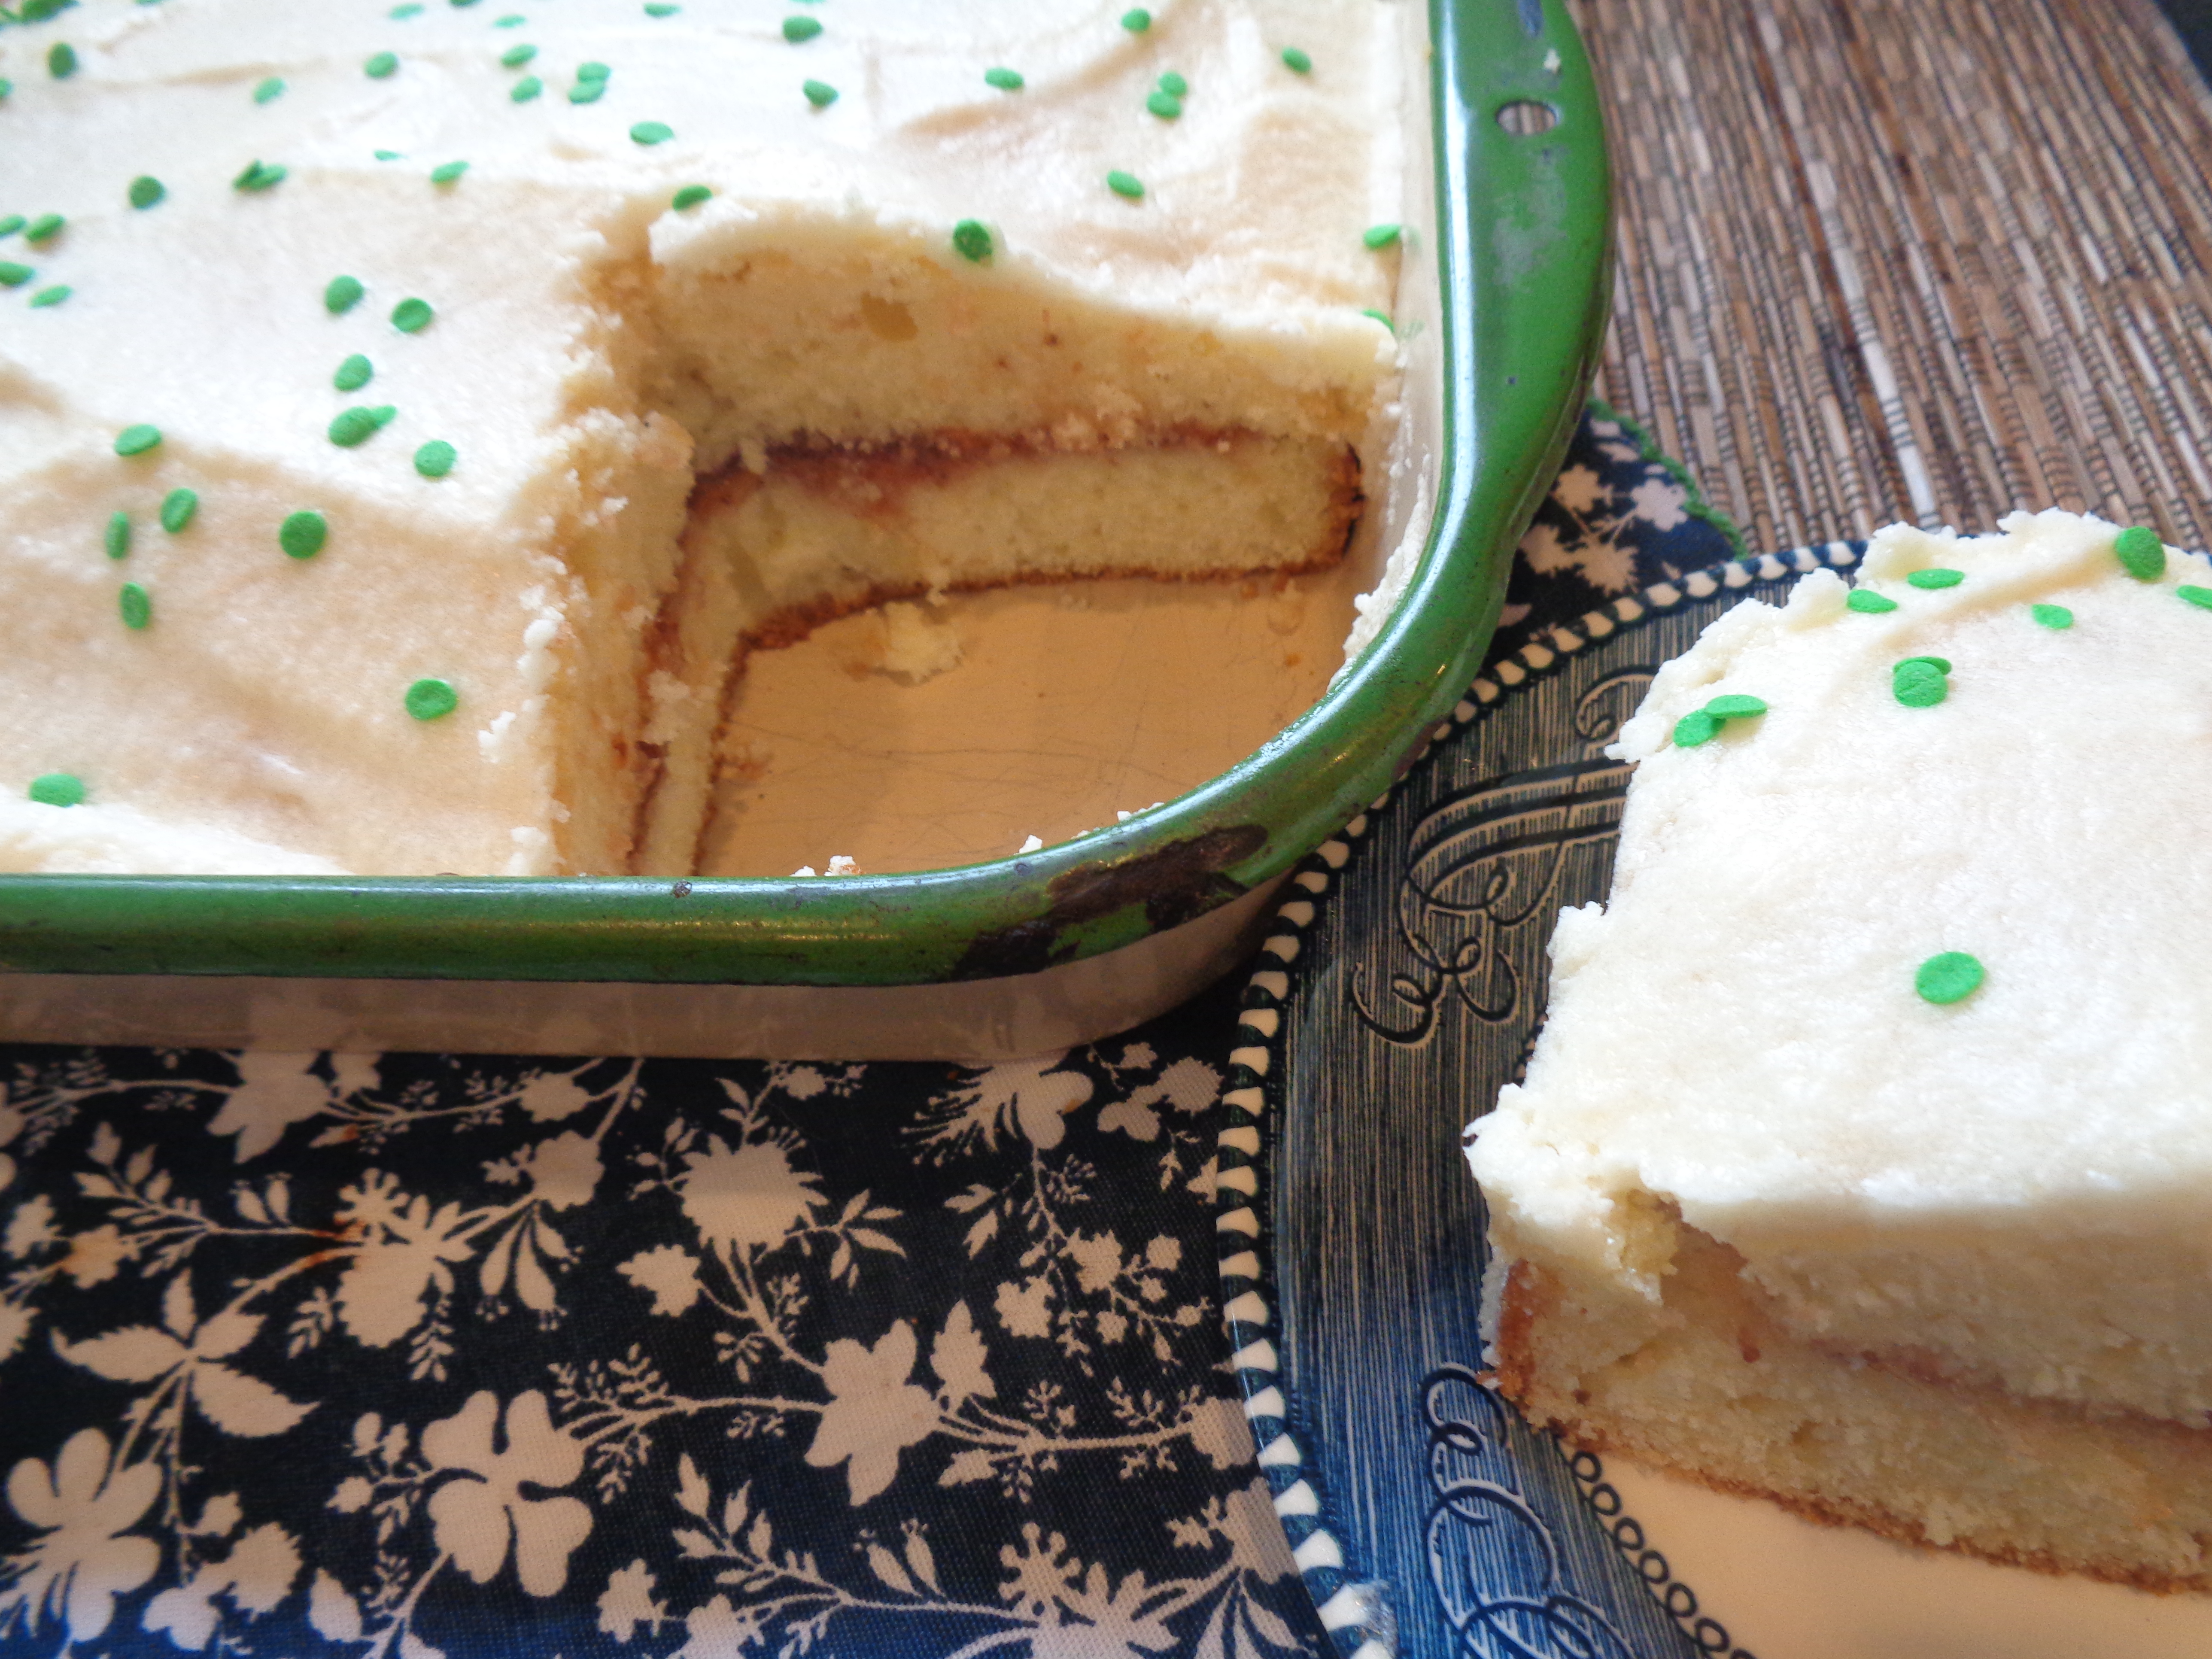
This year I even made a cake. Tessa's Vanilla Cake with a layer of Strawberry Jam and Vanilla Frosting and also with green circle sprinkles to imitate peas!

It has been 21 years since the 9/11 attacks, but I will never forget. Both of my kids are almost grown, but I'd like to think that one day my kids will carry on this tradition without me. I like to think of them gathering together and cherishing one another on this day every year, smiling and laughing as they eat peas and celebrate Olivia eating real food for hopefully many, many years.

Vanilla Cake

Adapted from Apples For Jam

by Tessa Kiros

Makes 10-12 slices

 Cake:

1/2 pound, plus 2 tablespoons (2-1/4 sticks) butter, softened

1 cup plus 1 tablespoon sugar

3 eggs

1 teaspoon vanilla extract

2-1/4 cups all-purpose flour

1-1/2 teaspoons baking powder

3/4 cup half and half or milk

Frosting:

7 tablespoons butter, softened

1-2/3 cups confectioners' sugar

1 teaspoon vanilla extract 

about 4 tablespoons milk

Preheat the oven to 350F and grease a 9-1/2" springform cake pan. Beat the butter and sugar together very well in a large bowl. Add the eggs one at a time, beating well after each one goes in. Add the vanilla and then sift in the flour and baking powder. Beat well, adding the half and half or milk a little at a time. You will have a thick and creamy batter. Scrape it out into the cake pan and bake for about 45 minutes, or until a skewer poked into the center comes out clean. Leave to cool completely before filling and frosting.

For the frosting, put the butter into a bowl and gradually beat in the confectioners' sugar. Add the vanilla and 3 tablespoons of milk and beat well, then slowly beat in the rest of the milk, stopping when you have a smooth but fairly stiff frosting. Gently spread it all over the cake - it doesn't have to be perfect! 


Casual Cookout @ IHCC

Sunday, September 4, 2022

Ina's Orecchiette with Farm Stand Pasta Sauce {Farewell To Summer}

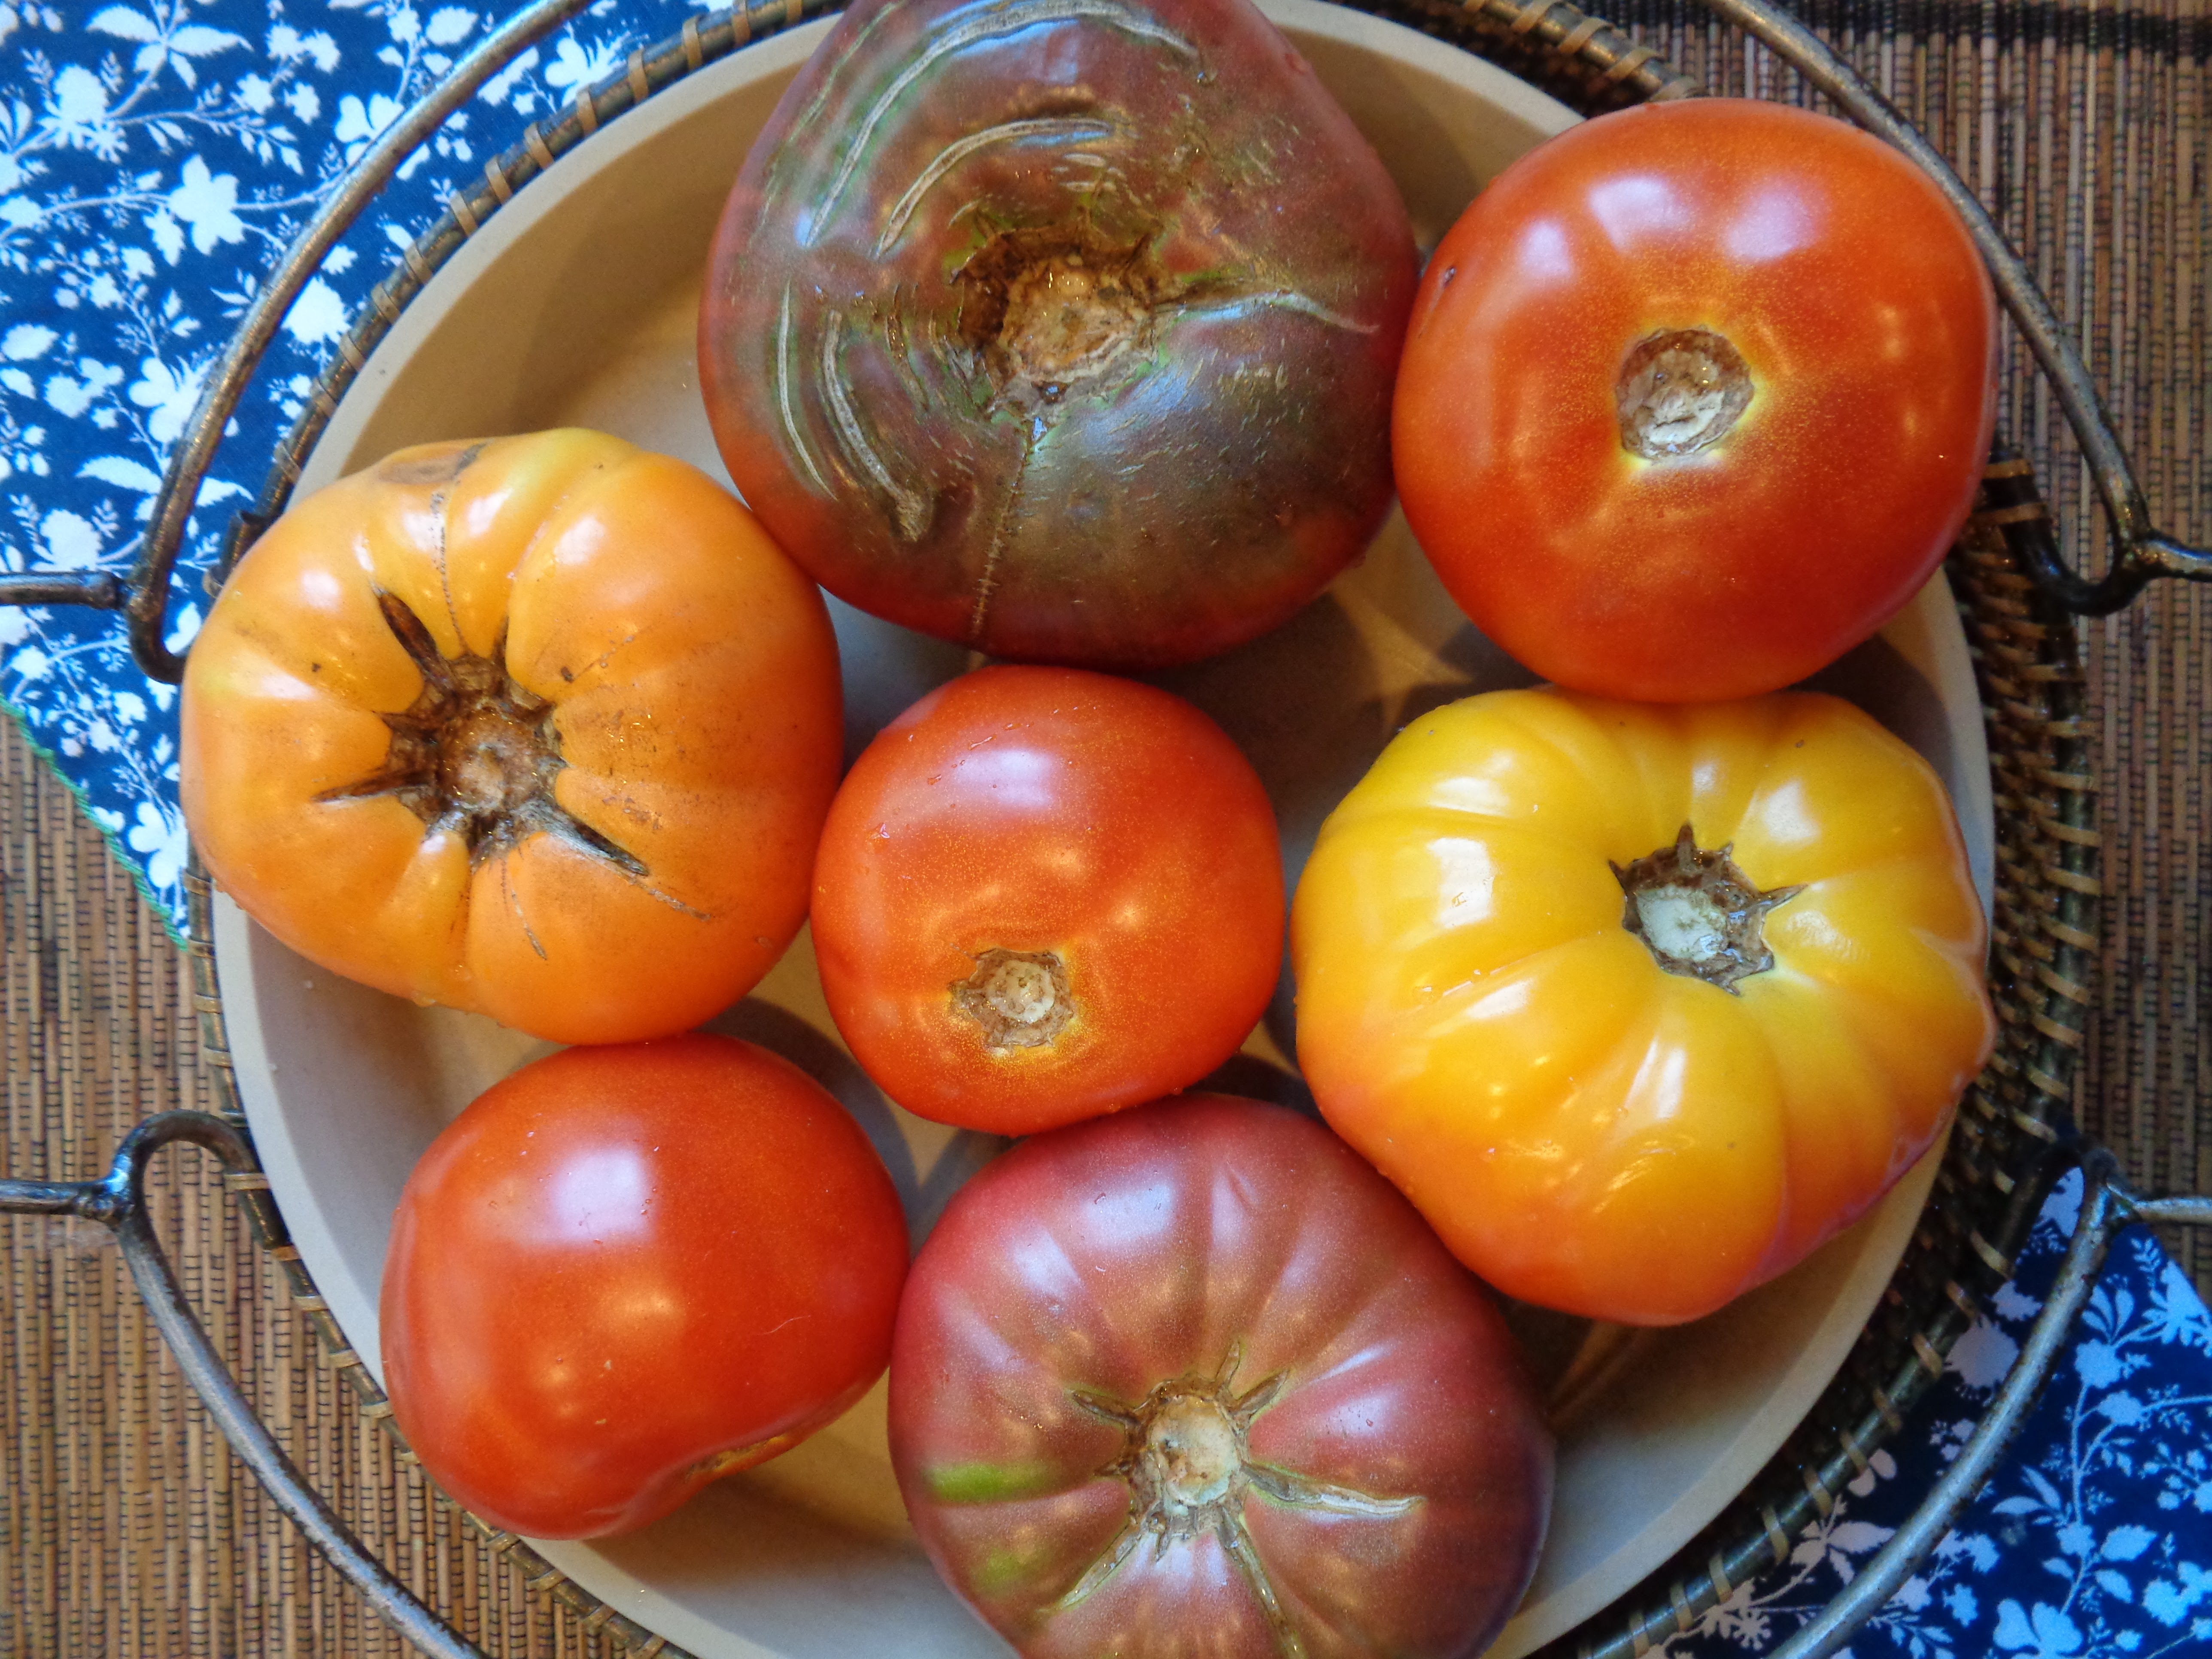
 The farmer's markets are coming to a close here in my county, so I made a run and got some last minute things. Namely, tomatoes...because I feel compelled to make at least one fresh tomato sauce each season.

Years ago I made Hugh Fearnley-Whittingstall's Roasted Tomato Sauce and it was so delicious it was quite literally out-of-this-world! I'm not sure if any tomato sauce recipe could top that; but in my mind if one could, then it would be an Ina Garten recipe. So, this is how I arrived at Ina's Orecchiette with Farm Stand Pasta Sauce. 

Now, make sure you're in the mood for some time in the kitchen if you make this, because you're going to be blanching and peeling and coring and chopping and stirring for a couple hours.

Ina's Farm Stand Pasta Sauce is a combination of blanched, peeled and cored fresh tomatoes combined with olive oil, red onion, celery, carrots, garlic, full-bodied red wine, tomato paste, fresh basil and parsley, a touch of sugar, red pepper flakes, and salt and pepper that is cooked down for about an hour or more, before being blended to the consistency you like.

You can see here in this picture that is can be quite chunky or blended up until smooth. Your choice!

I chose to to keep my sauce somewhere in the middle (with some chunks so that it would still look fresh). Upon finishing the sauce I could tell that I had enough sauce for two pounds of pasta so I bottled up half in a mason jar. I've noticed over the years that all Ina's recipes for sauce make at least double or more than what's really necessary and I am not sure why that is.

However, this is important information in regards to this particular recipe because the pasta finishes cooking in the tomato sauce. If I didn't remove half of the sauce then I would have had tomato and pasta soup. So, if you chose this recipe, remove half the sauce (you can always add some back in).

Lastly, be sure to use the orecchiette called for in this recipe and/or pasta shells. The orecchiette or shells are like little cups that hold the sauce quite well, making the perfect vessel for the sauce.

If you like a very fresh tasting tomato sauce that screams of summer, then this recipe is for you!

Orecchiette with Farm Stand Pasta Sauce

Adapted from Cooking For Jeffrey

by Ina Garten

Serves 6

5 pounds good red summer tomatoes

good olive oil

1-1/2 cups chopped red onion

1-1/2 cups medium-diced celery

1-1/2 cups scrubbed and medium-diced carrots (2 to 4 carrots)

2 tablespoons minced garlic (6 cloves)

1/2 cup full-bodied red wine, such as Chianti or California Syrah

1/4 cup tomato paste

1/2 cup shopped fresh basil leaves, lightly packed

1/4 cup minced fresh parsley leaves

1 tablespoon sugar

1/2 teaspoon crushed red pepper flakes

salt and freshly ground black pepper

1 pound orecchiette pasta, such as De Cecco

Freshly grated Italian Pecorino and/or Parmesan cheese

Bring a large pot of water to a full boil. Plunge the tomatoes into the water for 15 to 45 seconds (depending on their ripeness), drain, and immerse in a large bowl of cold water. Remove the cores and peel the tomatoes with a small paring knife. Cut the tomatoes into 1-1/2" dice and set aside.

In a large heavy pot or Dutch oven, such as Le Creuset, heat 1/3 cup olive oil over medium heat. Add the onion and cook for 5 minutes. Add the celery and carrots, and cook, stirring often, for 10 to 12 minutes, until the vegetables are tender. Add the garlic and cook for one minute.

Add the tomatoes, wine, tomato paste, basil, parsley, sugar, red pepper flakes, 1 tablespoon salt, and 1 teaspoon black pepper. Bring to a simmer, lower the heat, and cook, almost totally covered, for 1 hour, stirring occasionally. In batches, pour the sauce into a food processor fitted with the steel blade and pulse 2 to 3 times, until roughly chopped.

To serve, cook the orecchiette in a large pot of boiling salted water, following the directions on the package, and drain. Pour the pasta sauce into the pasta pot and reheat over medium heat, until simmering. Stir in the cooked pasta and 1 tablespoon salt and cook over medium heat for 5 to 10 minutes, until hot. Taste for seasonings and ladle into large, shallow pasta bowls. Sprinkle with Pecorino and/or Parmesan (I combine the two) and serve hot with extra cheese on the side. 


Sunday, August 28, 2022

Ina Garten's Classic Daiquiris


Sometimes summer nights call for a refreshing cocktail.

A simple syrup, some lime juice, and some rum and you are all set to go.

Fill your cocktail shaker three fourths of the way with ice and shake, shake, shake.

You have a refreshing and delicious cocktail that will really cool you down and help you relax!

 Classic Daiquiris

Adapted from Food Network

by Ina Garten

Makes 6 cocktails

1 cup sugar

1-1/3 cups freshly squeezed lime juice 

1-1/3 cups dark rum

very thin round slices of lime, for serving

Combine the sugar with 1 cup water in a small saucepan, and heat until the sugar dissolves completely. Set aside to cool or refrigerate for up to 2 weeks.

When ready to make the cocktails, combine the lime juice, 1 cup of the sugar syrup, and the rum in a pitcher. Fill 6 cocktail glasses with ice and pour the mixture over the ice. Garnish each cocktail with a slice of lime and serve ice cold.


Summer Nights @ IHCC


Sunday, August 21, 2022

Roasted Shrimp Cocktail Louis

I love a good retro recipe, especially one that's been given a modern spin. Classic shrimp cocktail usually calls for the shrimp to be boiled and served cold with a zippy tomato-based cocktail sauce. That classic recipe was a staple for years, served at every party, and is well and good. Except... nowadays we've learned that boiling doesn't do much to develop flavor and some would argue it doesn't do wonders for texture either.

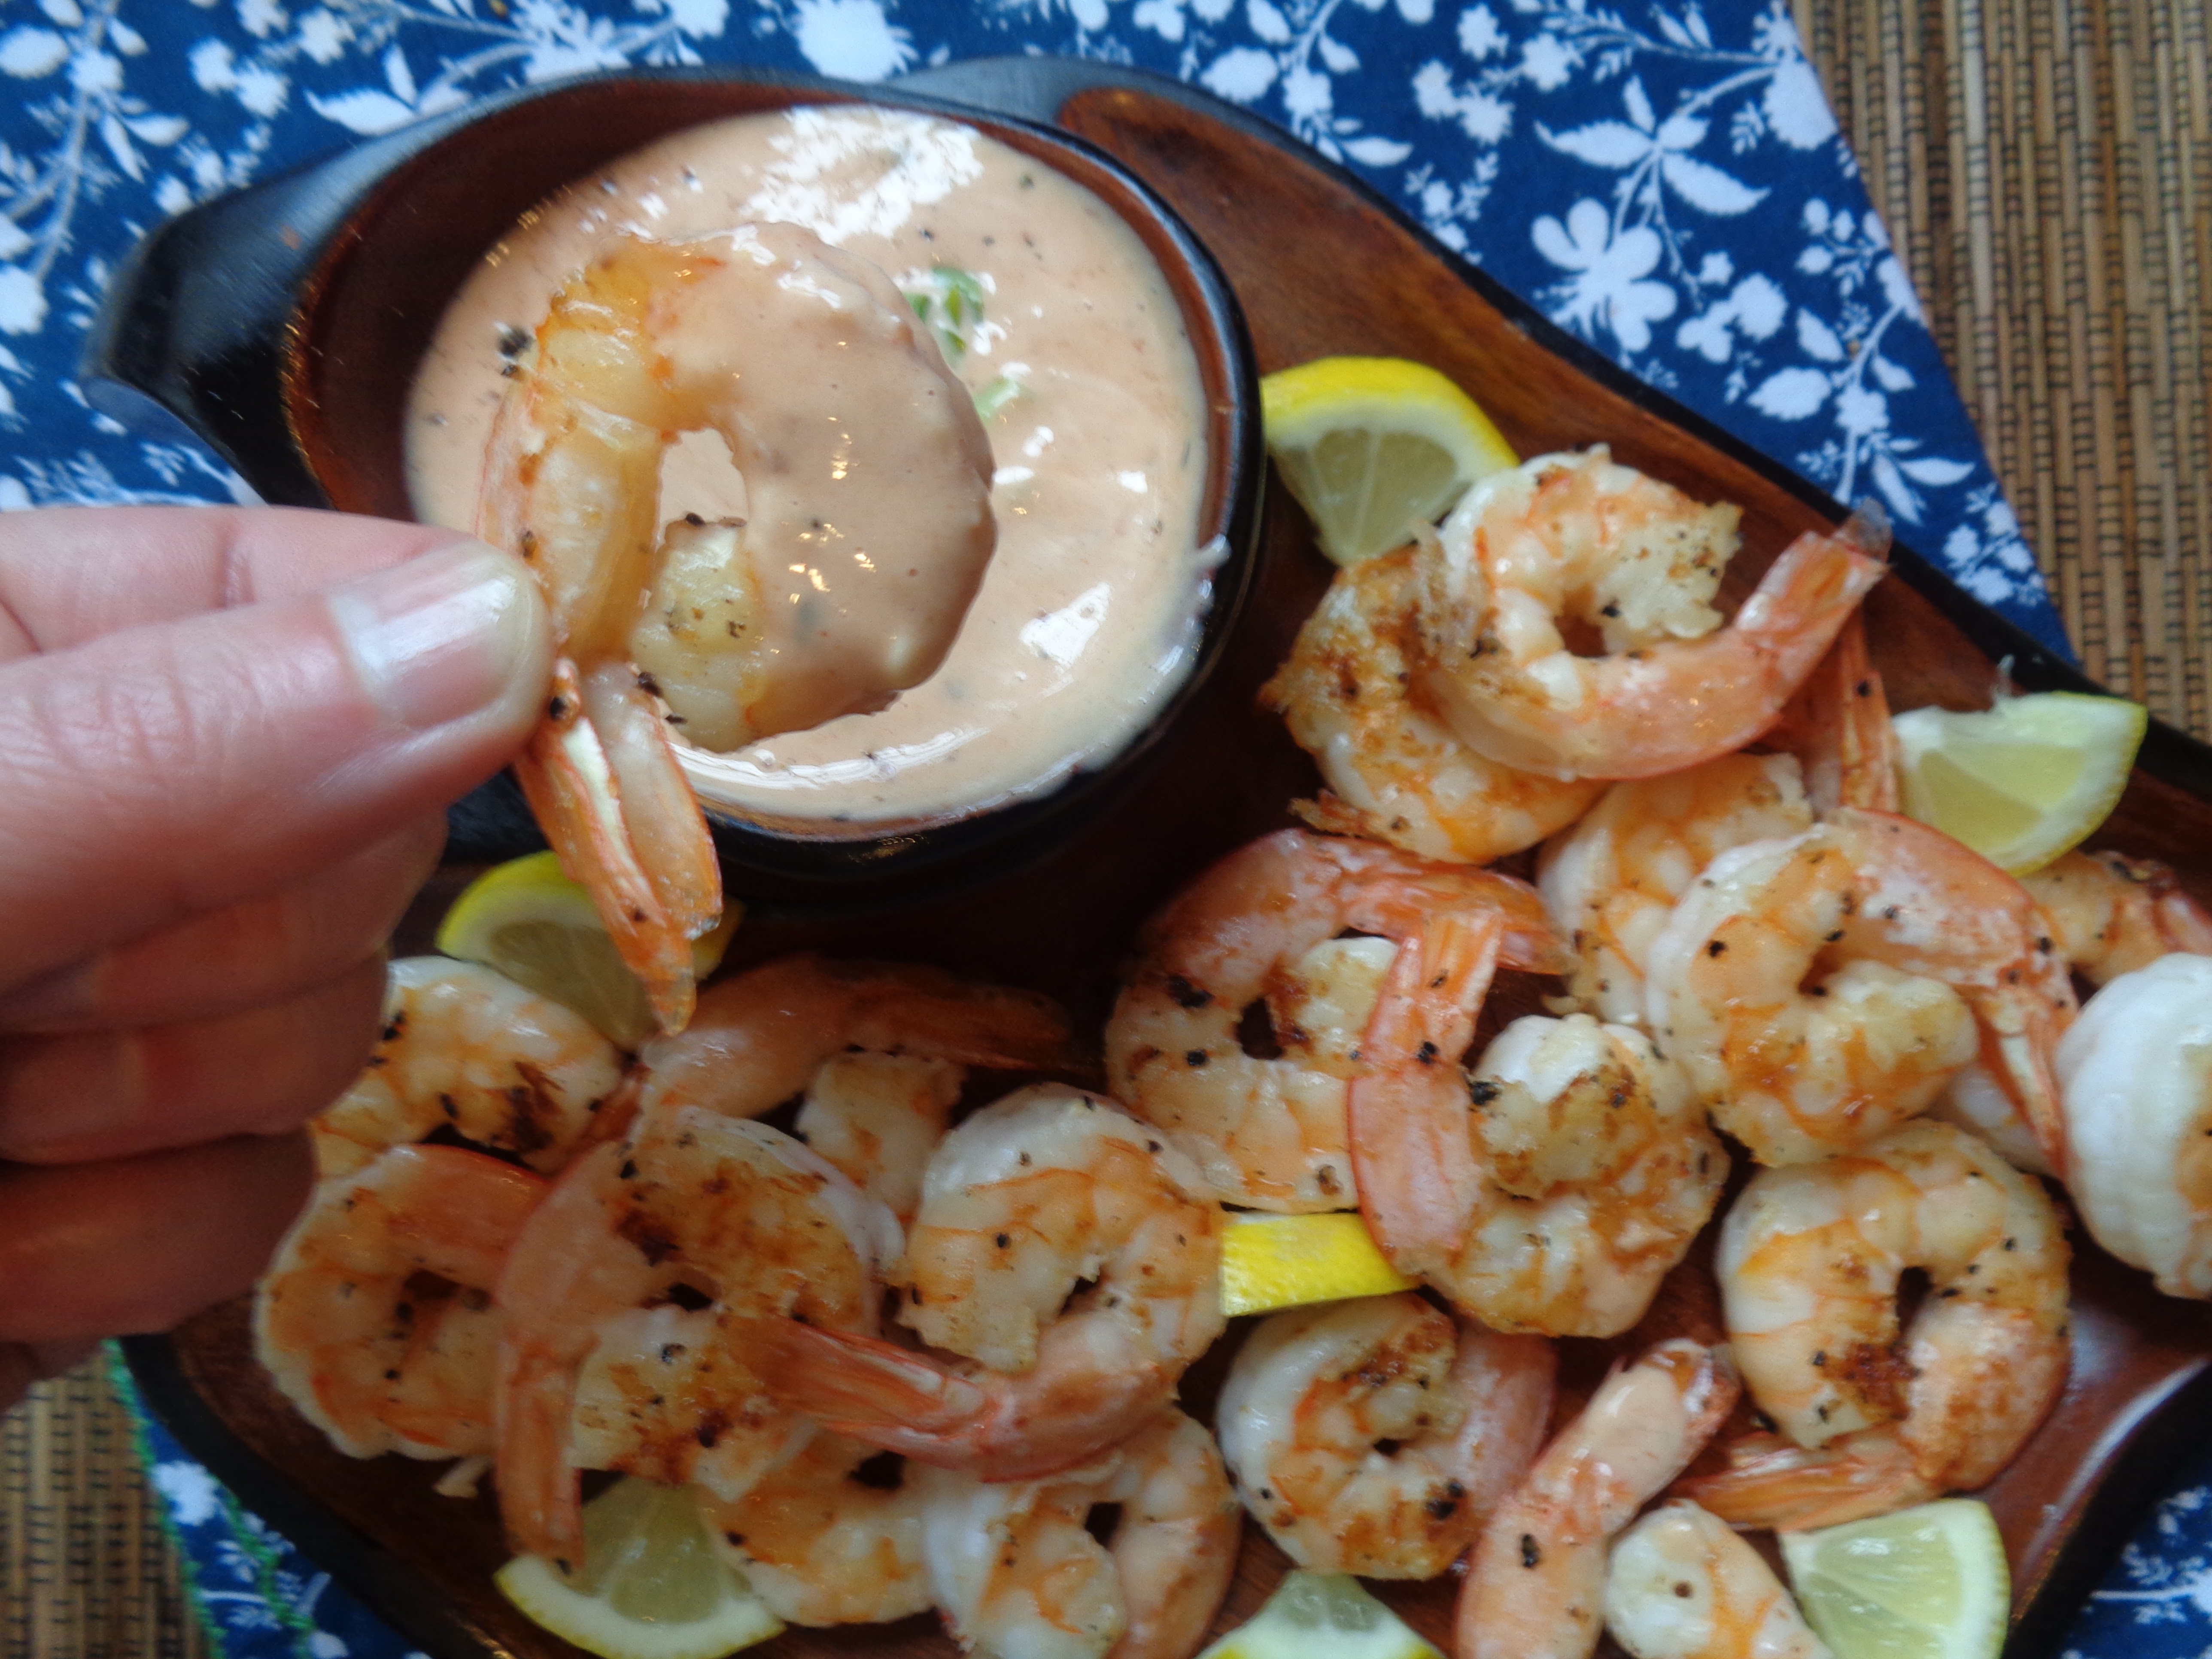
Enter Ina Garten's Roasted Shrimp Cocktail Louis. Ina roasts the shrimp, serves them warm, and introduces a different kind of sauce..a creamier, dreamier, cocktail-based sauce consisting of: mayo; chili sauce; lemon juice; lemon zest; horseradish; Sriracha; Worcestershire; capers; and scallions.

After tasting this recipe, I think it's time for shrimp cocktail to make a major comeback. Everyone is always looking to make something that's really quick, fairly healthy, and delicious. Not to mention, we live in a sauce-obsessed world. We are always dunking and dipping our way through meals. This recipe fits all those criteria and then some.

Give this a try the next time you're entertaining or hosting a gathering.

Roasted Shrimp Cocktail Louis

Adapted from Cook Like A Pro

by Ina Garten

Serves 4-6, depending

2 pounds large (16 to 20ct) shrimp, peeled, deveined, with the tails

olive oil

salt and freshly ground black pepper

1-1/4 cups good mayonnaise, such as Hellman's

1/2 cup Heinz chili sauce

1/2 teaspoon grated lemon zest

2 tablespoons freshly squeezed lemon juice

1-1/2 tablespoons bottled grated white horseradish, drained

2 teaspoons Sriracha

1 teaspoon Worcestershire sauce

1/4 cup minced scallions (2 scallions)

2 tablespoons capers, drained

Note: I halved the recipe and it worked out just fine. If you make the entire recipe, you will need to use two sheet pans for the shrimp (don't crowd them on the pan or they won't cook properly).

Preheat the oven to 400F. Dry the shrimp well with paper towels. Place them on a sheet pan with 1 tablespoon olive oil, 1 teaspoon salt, and 1/2 teaspoon pepper, toss well, and spread them out in one layer. Roast for 10 minutes, until firm and just cooked through. Set aside to cool.

Meanwhile, in a medium bowl, whisk together the mayo, chili sauce, lemon zest, lemon juice, horseradish, Srirarcha, Worcestershire sauce, 1 teaspoon salt, and 1/2 teaspoon pepper. Stir in the scallions and capers. Arrange the shrimp on a platter with the sauce in the middle for dipping. Offer a separate bowl for the discarded shrimp tails.

*I made a half recipe. When Ina makes the full recipe she roasts the shrimp on 2 sheet pans and adds a garnish of lemon pieces on the serving platter. 


Under The Sea @ IHCC

Sunday, August 14, 2022

Fruit Salad with Limoncello

Once Upon A Time...way back before the pandemic, I bought a bottle of Limoncello with high hopes for many Limoncello recipes. It's years later now and I’m just getting around to those recipes. 

Ina's Fruit Salad with Limoncello was #1 on my list of Limoncello recipes because fruit salad is just yummy, but then Ina lets the fruit marinate in a combination of Limoncello and sugar, before topping it with the creamiest dreamiest Greek yogurt mixed with lemon curd, honey, and vanilla. 

I mean...this is summertime in a bowl, right?

I probably don't have to tell you that this is lemony, dreamy, and delicious! This is definitely an adult fruit salad, perfect for summer get-togethers. You can definitely taste the Limoncello and the fruit definitely does have a pronounced lemony flavor. However, as long as lemon is your vibe, then you will love this!

The lemon curd and Greek yogurt topping is just heavenly and delicious and I am already finding many other applications for it!

Fruit Salad with Limoncello

Adapted from Back To Basics

by Ina Garten

Serves 6

7 ounces Greek yogurt 

1/3 cup good bottled lemon curd

1 tablespoon honey

1/4 teaspoon pure vanilla extract

2 cups sliced strawberries (1 pint)

1 cup raspberries (1/2 pint)

1 cup blueberries (1/2 pint)

2 tablespoons sugar

3 tablespoons limoncello liqueur

1 banana, sliced

fresh mint sprigs

For the lemon yogurt topping, whisk together the yogurt, lemon curd, honey and vanilla and set aside at room temperature.

For the fruit salad, carefully toss together the strawberries, raspberries, blueberries, sugar, and limoncello. Allow them to stand at room temperature for about 5 minutes to let the berries macerate with the sugar and liqueur. Gently fold the banana into the mixture.

Serve bowls of fruit with a dollop of lemon yogurt on top. Top each with a sprig of fresh mint.


No Cooking Required @ IHCC

Sunday, August 7, 2022

Spaghettini with Spicy Basil Pesto

 
I plant a container garden each summer and the one thing I can always count on is basil. It grows like a weed in my backyard every single year.

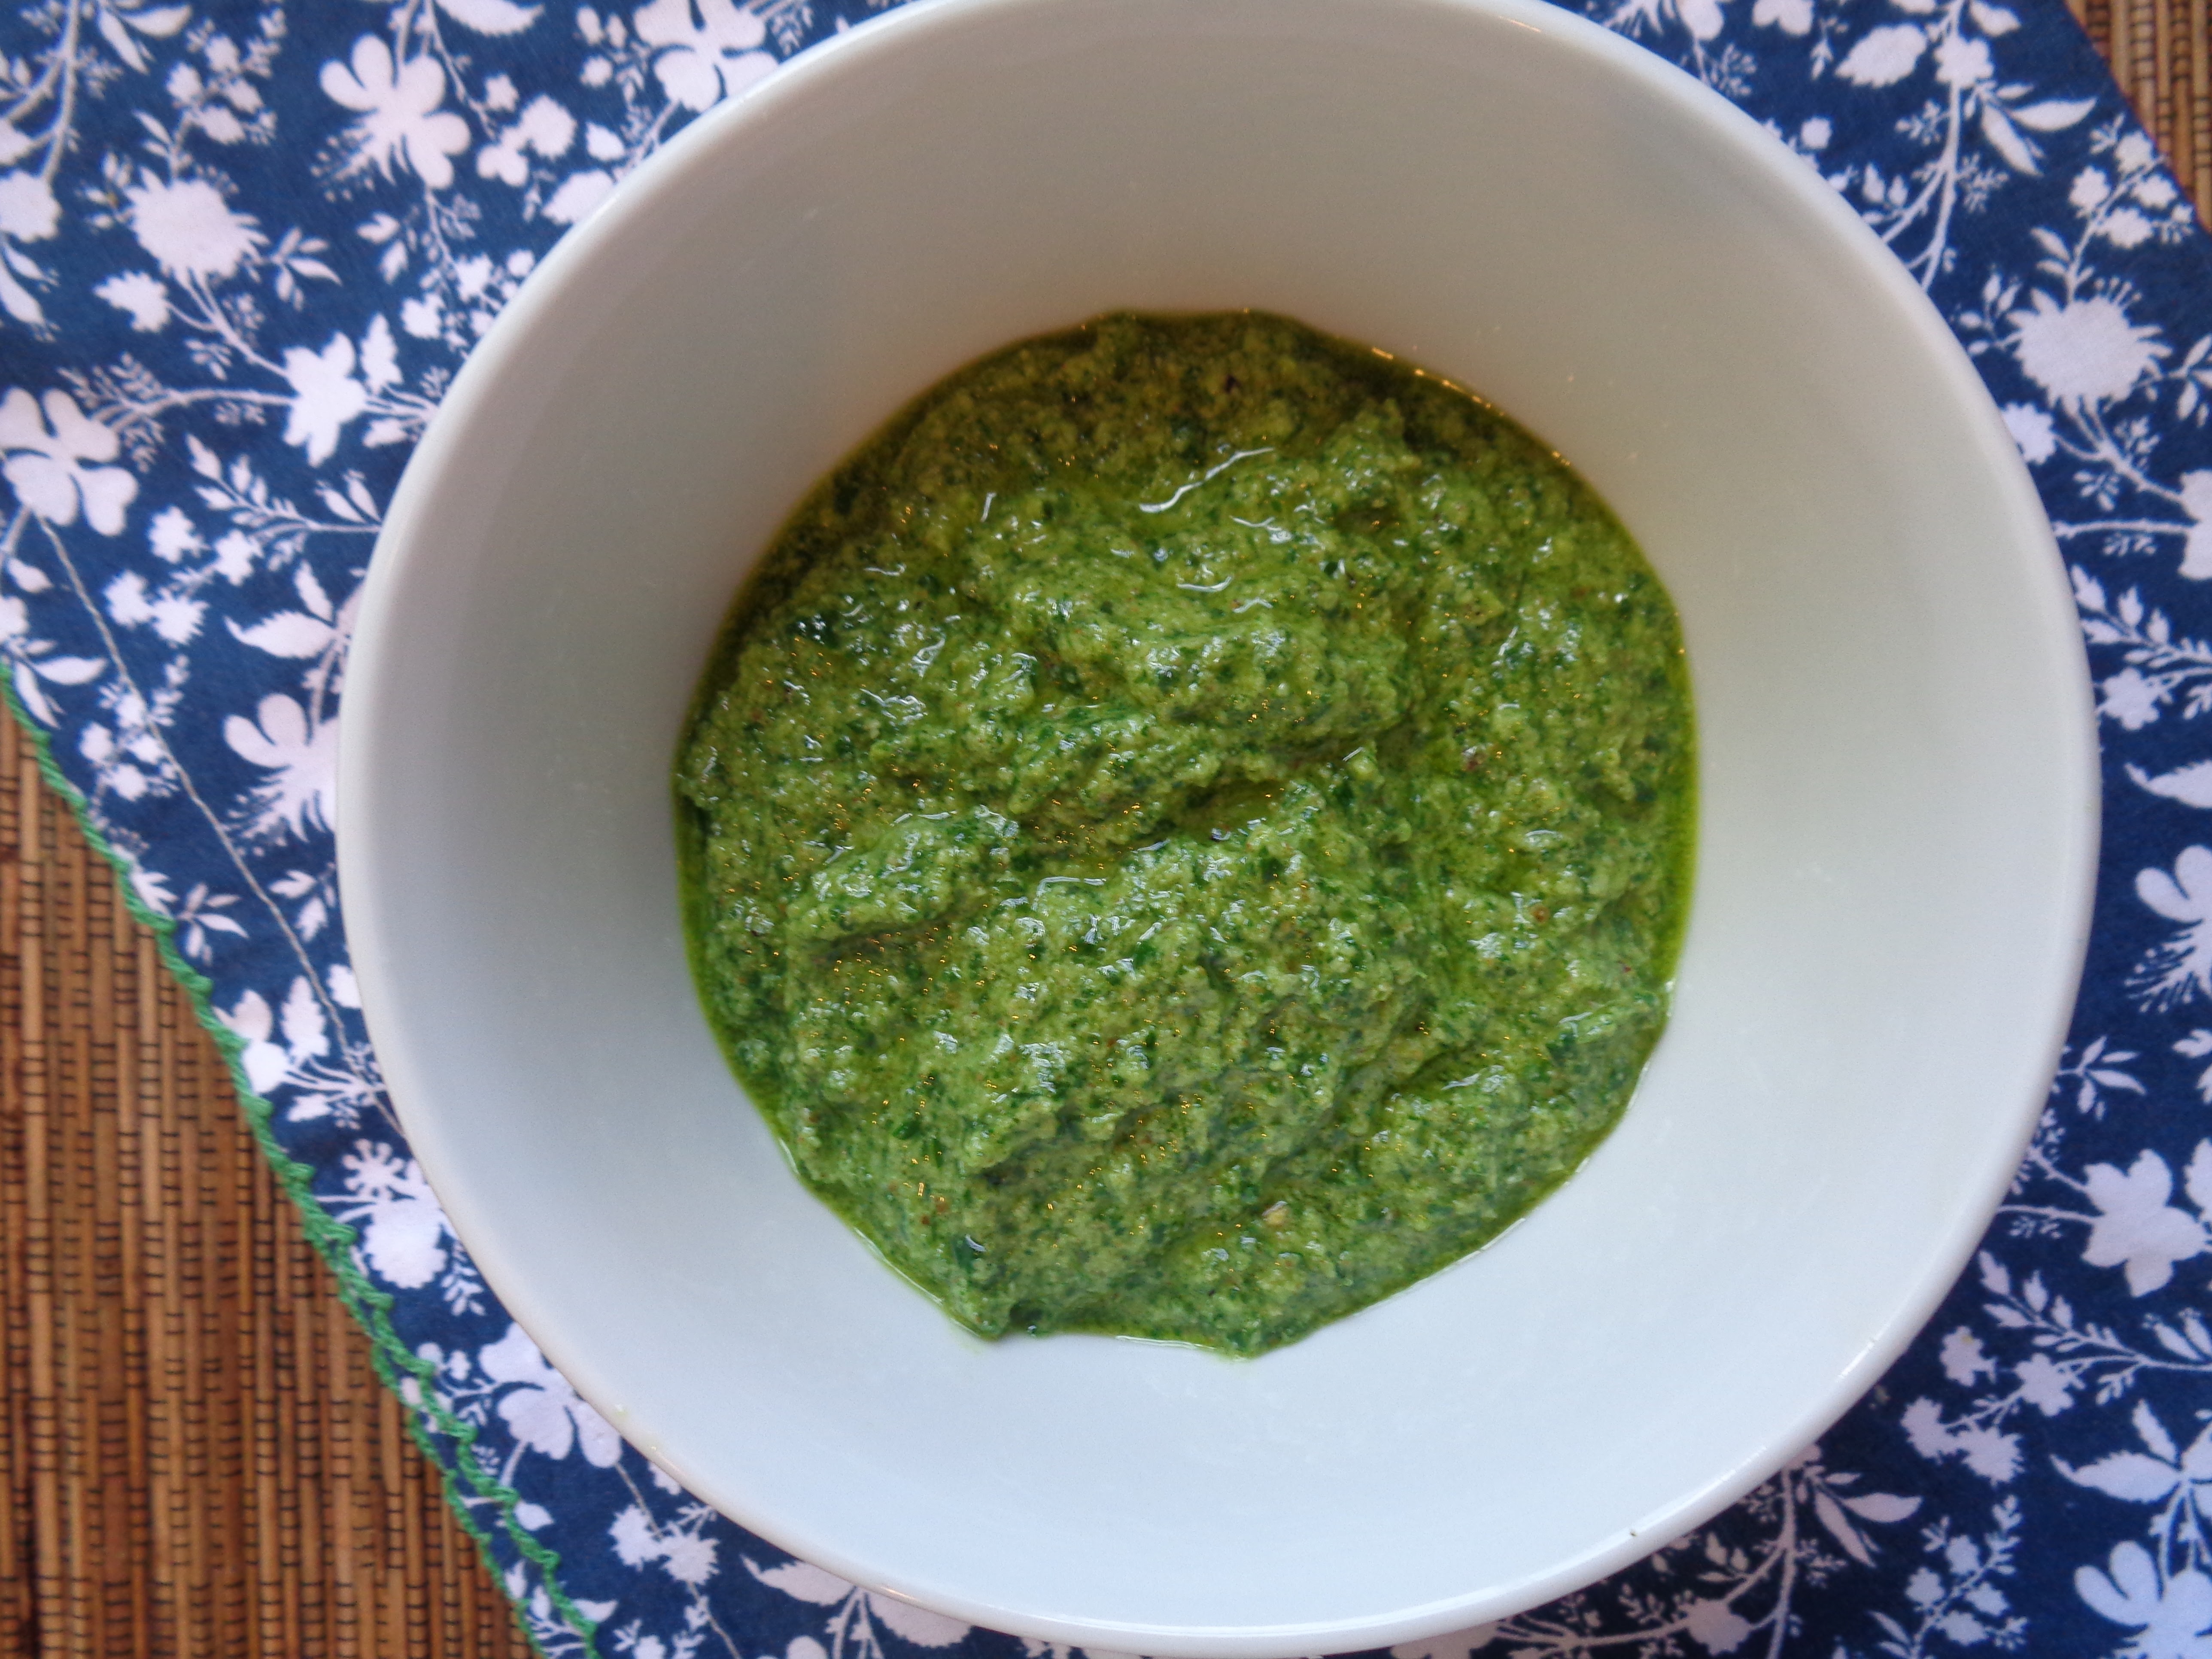
My basil was needing a trim, so I went out and got two packed cups and came right in to make Jacques Pepin's Spicy Basil Pesto.

Pepin says, "Conventionally pesto is made with pine nuts, but here I use pecans, along with a jalapeno, for a distinctive effect. You may want to double or triple the recipe for the pesto. It is very good on grilled fish or meat, as a delicious flavoring for baked potatoes, or as a topping for other pastas. It will keep for up to a week in the refrigerator. Be sure to cover it with a piece of plastic wrap, pressing it down so it touches the surface of the pesto. "Blanching" the basil and the parsley in a microwave helps prevent them from discoloring when the pesto is held for a few hours." 

I love that Pepin changes up the classic pesto by using pecans in place of pine nuts. I also love the idea of adding a jalapeno (also fresh from the garden)! I have to say this pesto was one of the tastiest pesto recipes I've ever made. I loved the slight heat from the jalapeno and the pecans seemed to give the pesto a little more body than normal. I found 5 cloves of garlic was just right and everything came together perfectly. 

Mixing pesto into pasta is likely a personal preference. Some people might like more or less pesto than others. Pepin has you mix the pesto with one pound of pasta which really stretches the pesto out and makes the flavor more subtle. If you wanted a more pronounced pesto flavor, then you'd want to make a double batch of pesto, or use less pasta. 

We enjoyed this pesto over angel hair pasta and found it to be incredibly light, like a cloud. A true summer pasta dish, if there ever was one. 

I am a HUGE fan of this pesto recipe. In fact, it may be my favorite of all time. I will definitely make it again!

 Spaghettini with Spicy Basil Pesto

Adapted from Essential Pepin

by Jacques Pepin

Serves 4

2 cups packed fresh basil leaves

1 cup tightly packed fresh parsley leaves

1/4 cup freshly grated Parmesan cheese

1/4 cup pecans

5 garlic cloves, peeled and crushed

1 small jalapeno pepper, cut in half and seeded

1/2 cup extra virgin olive oil

1 pound spaghettini

1/2 teaspoon salt

freshly ground black pepper

hot pepper flakes (optional)

1/2 cup freshly grated Parmesan cheese

Bring 4 quarts of salted water to a boil in a large pot.

For The Pesto: Put the basil and parsley in a plastic bag and microwave on high for 1 minute. Transfer, while still hot, to a blender and add the Parmesan cheese, nuts, garlic, and jalapeno pepper. Process for about 30 seconds, until the mixture is finely purred. Add the oil and process for a few more seconds. (You should have about 1-1/2 cups). Transfer to a large bowl and set aside.

Add the spaghettini to the boiling water, stir well, and cook for 8 to 9 minutes, until tender but still slightly al dente.

Scoop out 1 cup of the pasta cooking liquid and mix it with the pesto. Drain the pasta well and add it to the sauce, along with the salt, and black pepper to taste. Toss and serve immediately, with hot pepper flakes, if desired, and the grated Parmesan cheese.


Summer Harvest @ IHCC

Sunday, July 31, 2022

Grown-Up Tomato-Parmesan Pasta {AKA Homemade Spaghettios}


When I was little my parents were strictly healthy and I wasn't eating any "junk food." Until I met the next door neighbor. My friend next door was eating ALL the junk food!

My mom couldn't keep me away from my next door neighbor, Julie. Julie was a year older than me and when I would go to her house she would climb the cabinets, get on the countertops, and get out the Nesquick for chocolate milk, or the Hostess treats, like the Ho-Ho's and Twinkies. Most importantly, her parents made THE BEST BUTTERED NOODLES and served them in the old school Tupperware bowls.

Our families became fast friends and before too long our moms started part-time jobs. The moms decided to get opposite shifts and take turns watching us. During this time, my exposure to endless buttered noodles and treats was on high. Julie's house had all the good stuff.

Julie's mom, Sally, would watch me in the morning while my mom was at work. Soon after, Julie started Kindergarten and oh my...how I missed my friend terribly when she was away at school. I can remember sitting at her big picture window waiting to see her walking home from school. I always knew Julie was about to come home when Sally opened the can of Spaghettios for lunch. She would put two bowls of Spaghettios on the table right by the picture window and in no time at all Julie would come walking down the street.

That was about 42 years ago now, but I remember it like it was yesterday. Steaming bowls of Spaghettios and my friend walking down the street with a big smile on her face, running to the door to give me a hug and tell me all about Kindergarten. We loved each other fiercely.

Julie and me, Christmas 1979

The years passed and we both moved away, but kept in touch. At Julie's bridal shower her mom gifted her the old beat up buttered noodle pan that had been lovingly used over the years to cook us all our buttered noodles and Spaghettios. There wasn't a dry eye in the place.

Not too many years later, Mrs. Sally had a severe stroke, became wheelchair bound, and was unable to speak. Everyone was so upset and I remember my mom crying because Mrs. Sally was so active and hated sitting still. My mom couldn't bear the thought of it. Mrs. Sally lived several years this way and was able to meet her grandchildren before passing, but she deserved so much more. 

When I saw this recipe for Grown-Up Tomato-Parmesan Pasta I immediately thought of my old friend Julie and her mom, Mrs. Sally. 

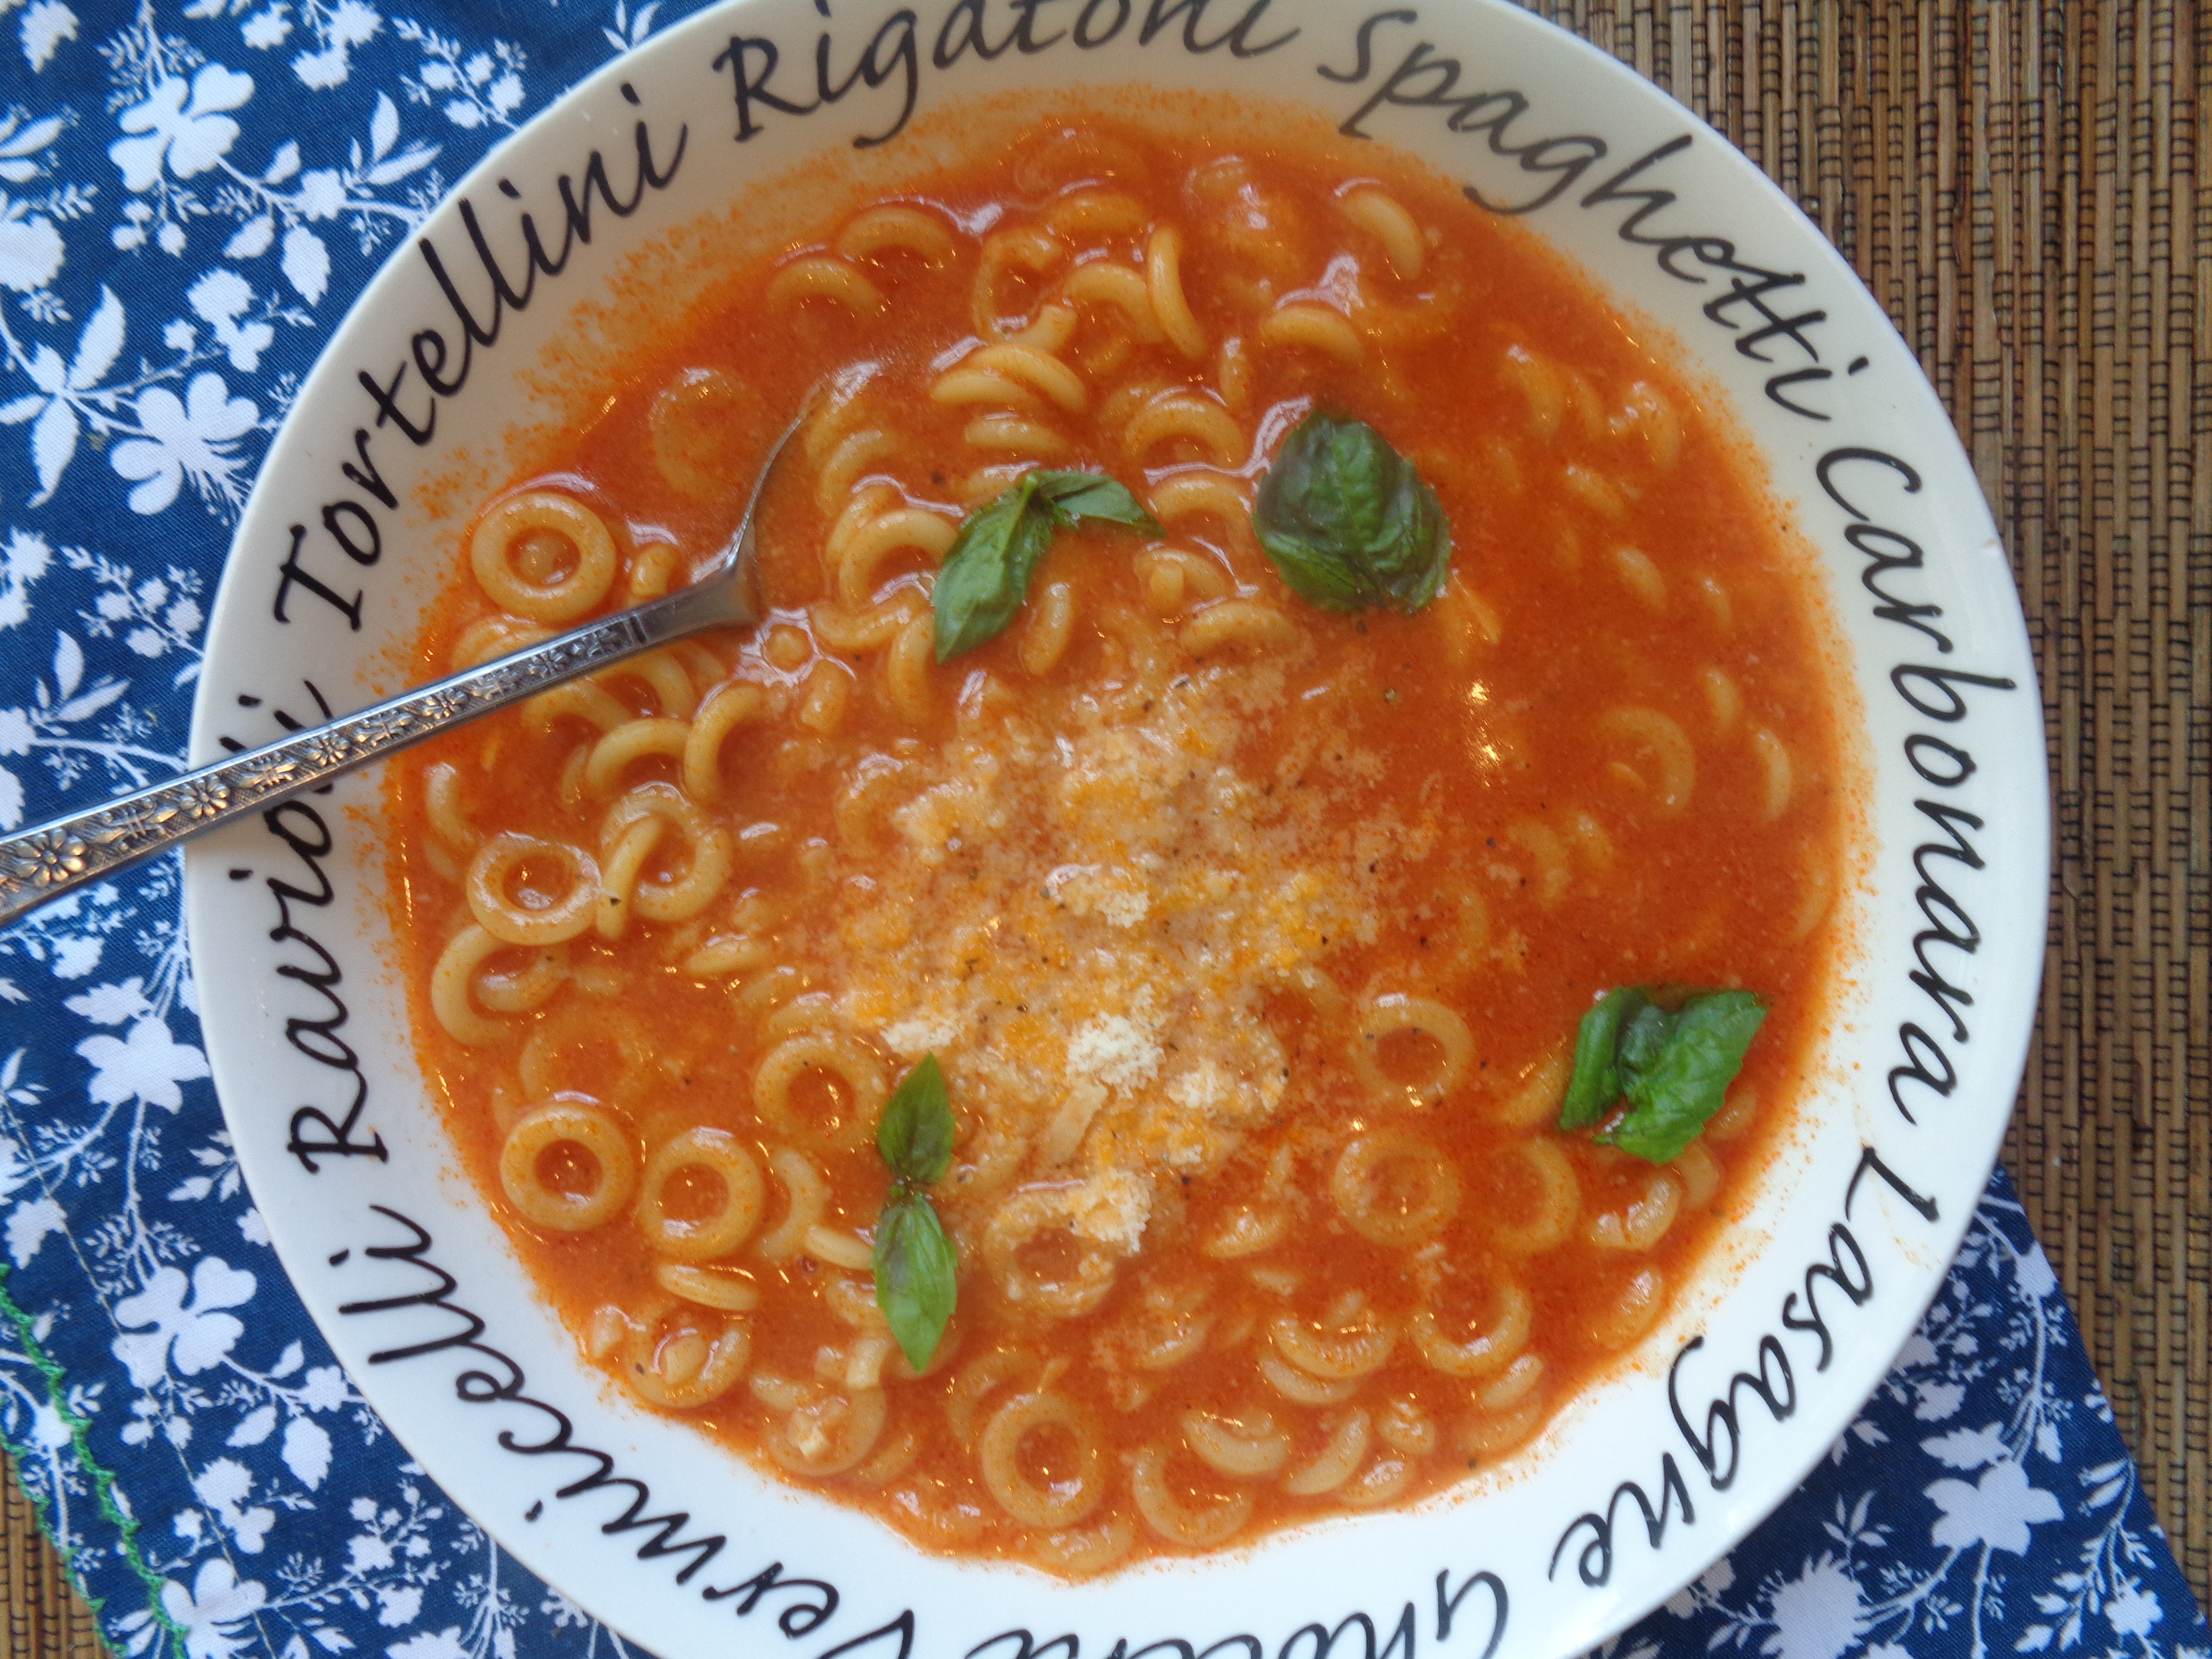
I also thought of my daughter, who also loves pasta, but has never had Spaghettios (my mom and I succeeded on that one). Well, I made her this homemade version and it was so easy. A little bit of olive oil and minced garlic and seasonings, then tomato paste and water to a boil, toss the pasta in, cook until al dente, throw in some Parmesan and you have Homemade Spaghettios. 

My daughter loved it, just like I expected. I thought the tomato flavor was a bit sharp, but I only like tomatoes (I don't love them), so this makes sense. Tieghan calls for 3 tablespoons of tomato paste and that might be a bit too much for me. I might try less tomato paste next time. Overall, it is a fast and family-friendly dish to make and I think kids would really love it.

This week my daughter moved into her very own place. I have been 'in my feels lately' and really missing my mom. She's been gone for almost 5 years now. As I was packing things up I got mom's old pasta pan and colander, grabbed a box of pasta from the pantry, and a stick of butter from the fridge and put it all in a box. It was time for me to part with mom's pasta pan and pass it on to my daughter. I loaded it in the car and it was the first box to cross the threshold into Olivia's new place. 

I set the pan, colander, pasta and butter on Olivia's new stove and stepped back feeling so much reverence. In that moment they were all there with me: mom, Mrs. Sally, and my friend Julie. I snapped a picture and sent the text to my old friend Julie with the caption "first things in Olivia's new place." A handful of words with a lifetime of meaning.

Later that night Olivia send me a text and it read, "Made the pasta and I'm having the time of my life."

A little while later Julie answered my text, "Our moms would love this."

In these moments life sure is beautiful.

 Grown-Up Tomato-Parmesan Pasta

Adapted from Super Simple

by Tieghan Gerard @ Half Baked Harvest

Serves 2

3 tablespoons extra virgin olive oil

1 garlic clove, smashed

2 teaspoons chopped fresh rosemary

crushed red pepper flakes

3 tablespoons tomato paste

3/4 cup anelli, or other short, tubular pasta*

salt and freshly ground black pepper

1/3 cup shaved Parmesan cheese

Fresh basil leaves, for garnish

In a medium saucepan, combine the olive oil and garlic over medium-low heat (*see note below). Cook, stirring occasionally, until the garlic is fragrant, about 2 minutes. Add the rosemary and a pinch of red pepper flakes and cook until toasted and fragrant, about 1 minute more.

Remove the saucepan from the heat. Stir in the tomato paste, then add 2-1/2 cups of water. Return the pan to high heat and bring to a boil. Add the pasta and season generously with salt. Cook, stirring often, until the pasta is al dente, about 12 minutes.

Remove the pan from the heat again and stir in the Parmesan. Taste and add more salt and pepper as needed.

Divide the pasta between two bowls and top with fresh basil. Serve immediately. Store any leftovers refrigerated in an airtight container for up to 3 days.

*Note: It's important to keep the olive oil at a low temperature throughout step 1. If the oil is too hot when you add the rosemary and tomato paste, the rosemary will burn and the tomato paste will splatter.


 Potluck @ IHCC