Sunday, May 11, 2014

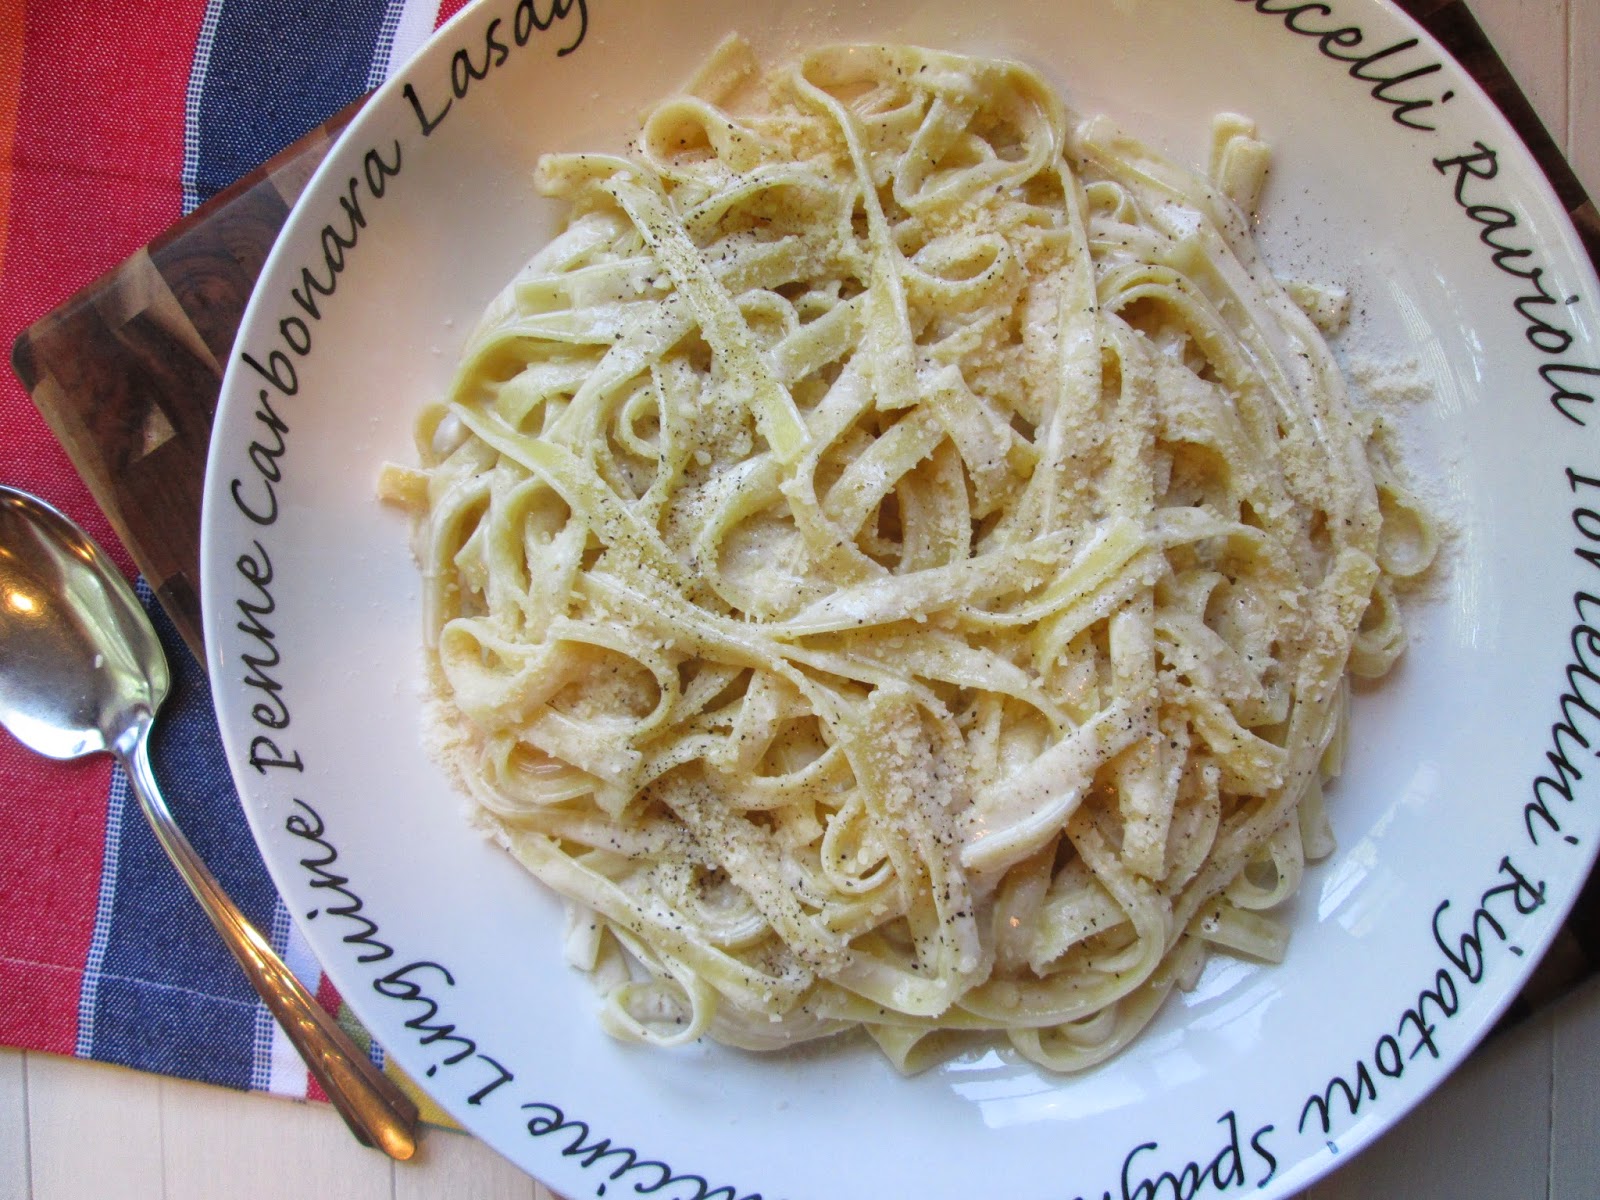
Nigel Slater's "Needs Must" Fettuccine Alfredo

When my good friend Deb, of Kahakai Kitchen, shared this recipe for Nigel Slater's "Needs Must" Fettuccine Alfredo I knew straight away I had to make it!  I found myself drooling over Deb's pics of creamy and comforting fettuccine noodles.  Then I noticed how simple the recipe was.  Easiest recipe for Fettuccine Alfredo ever.  Five ingredients.  Dead Simple. 

Now I will confess.  It's hard to justify eating something so indulgent.  However, my thirteen year old daughter simply loves Fettuccine Alfredo and it just so happens that she is underweight.  Do you see where I'm going with this?  I made this Fettuccine Alfredo for her.  After all, the doctor did say she needed to gain weight and it is my job to feed the child. I'm telling you.  This parenting gig is a rough job sometimes.  The things we have to suffer through.


 Nigel Slater's "Needs Must" Fettuccine Alfredo
recipe found on Kahakai Kitchen 
and also found in Notes From the Larder
by Nigel Slater 
Enough for 2

9 ounces (250g) fettuccine or other favorite pasta shape
1 cup (250ml) heavy cream
thick slice of butter
nutmeg
About 3/4 cup grated Parmesan, plus extra for serving
Salt and lots of black pepper, to taste

Boil the fettuccine (or other pasta shape) in deep heavily salted water till al dente.  Put the cream in a saucepan with the butter and warm over gentle heat.  Grate in a little nutmeg.  Stir in most of the grated Parmesan and a generous amount of black pepper, then toss in the lightly drained pasta.  Toss gently and serve with remaining Parmesan.   


Theme: Weeknight Favorites!

Sunday, May 4, 2014

Brown Rice, Carrot and Cashew Pilau

Rice is always a welcome side dish in my home.  Lately we've switched to brown rice and I have to say the entire family enjoys the nutty flavor of brown rice.  We loved this particular recipe because the toasted cashews really accentuate the natural nutty flavor of the brown rice. Not to mention, the added texture and crunch of the cashews is really nice.  The pops of color from the cubed carrots, sliced scallions, and black sesame seeds make this very easy on the eyes. 
 
If you're looking for a new rice dish this is it! I served this alongside some roasted chicken legs and broccoli and it was a delicious pairing.  In fact we loved the broccoli when mixed with the rice and found ourselves mixing it in. Next time I would probably go ahead and add the broccoli straight to the rice.  It was a wonderful combination of colors and flavors!

Brown Rice, Carrot, and Cashew Pilau
Adapted from Nigel Slater 
via The Guardian
Serves 2 as a main course
Serves 4 as a side

The Recipe: Scrub and finely dice two medium carrots. Warm a slice of butter and a little oil in a frying pan, add a couple of roughly chopped spring onions and then the diced carrots. Let the carrots and spring onions colour lightly then add three whole cloves and a teaspoon of ground coriander. Add 200g (equivalent of 1 cup)  brown basmati rice and 500ml of vegetable stock, bring to the boil, season generously with salt, then cover tightly with a lid and turn down the heat so the rice simmers gently. Cook for 15-20 minutes until the rice is almost tender. Leave to settle, still covered with a lid, for 10 minutes. Toast a couple of handfuls of cashews in a dry pan until they are lightly brown and set aside. Remove the lid from the rice, add two teaspoons of nigella seed, one teaspoon of garam masala, a thick slice of butter and the cashews. Fork the butter, nuts and spices through the mixture, stirring well, then serve.

Tricks and Tips: I always wash my rice three times in a bowl of warm water, swishing the rice round with my fingers. This removes any surface starch and helps to keep the rice separate. Partly necessity and partly ritual, it is probably only truly necessary to do this once, but I have always done it three times and my rice never sticks. It's best cooked with a tight lid and is done when deep holes appear on the surface. Peep occasionally to check.

A Few Twists: Use parsnip instead of carrot, but cook a little longer before adding the rice, so the roots are really sweet and caramelised. Use white rice, cooking it for a shorter time. It will take about 12 minutes depending on the type of rice and how soft you like it. I have used soft spicing here, but for a hotter mix use ground chilli, cumin and paprika. Add these while the carrots are cooking rather than at the end.

Theme: Rootie Patootie!

Sunday, April 27, 2014

Roast Chicken Wings with Lemon and Cracked Pepper


For the past few months I've been completely obsessed with chicken wings.  It's like a never-ending addiction that just won't go away.  Fried chicken wings are delicious, but aren't necessarily great for the waistline so I've taken to roasting them in the oven instead.  I love this simple recipe because the chicken wings get all sticky and caramelized and they are ever so flavorful.  Slightly better for the waistline and every bit as tasty!


Roast Chicken Wings with Lemon and Cracked Pepper
Adapted from Kitchen Diaries
by Nigel Slater
also found on Kitchen Flavours 

12 large chicken wings
1 large, juicy lemon
5 bay leaves
1 heaped tablespoon black peppercorns
2 tablespoons olive oil
salt, to taste

Set the oven at 200C/Gas 6 or 400F.  Put the wings into a roasting dish, halve the lemon and squeeze it over them, then cut up the lemon shells and tuck them, together with the bay leaves, between the chicken pieces.
 
Put the peppercorns in a mortar and bash them so they crack into small pieces. They should still be knubbly, like small pieces of grit rather than finely ground.
 
Mix the peppercorns with the olive oil, then toss with the chicken and lemon. Scatter the salt flakes,without crushing them, over the chicken. Roast for 40-45 minutes, turning once. The chicken should be golden and sticky, the edges blackened here and there. Enough for 2.
 
 
Theme: What's In Your Picnic Basket?
 

Sunday, April 20, 2014

Lemon-Mustard Potato Salad


 This is one seriously good potato salad.  The potatoes are roasted in a bright and tangy lemon-mustard dressing then tossed with arugula, thin strips of bell pepper and toasted nuts.  This salad screams of fresh bright flavors and is satisfying enough to serve as a main course. We loved the combination of flavors and textures and I will definitely be making this again. 


Lemon-Mustard Potato Salad
Recipe Adapted from Feel Good Food
by Giada De Laurentiis
Serves 4-6

Dressing 
2 tablespoons Dijon mustard
1 tablespoon chopped fresh thyme leaves
grated zest of 1 large lemon
3 tablespoons fresh lemon juice
3 tablespoons extra virgin olive oil
salt and pepper to taste

Salad
1-1/2 pounds baby red skinned potatoes, halved
salt and pepper to taste
1 yellow or red bell pepper, cut into thin strips
4 cups arugula (about 4 ounces)
1/4 cup walnut pieces or sliced almonds, toasted

Notes: I used spinach instead of arugula and pecans instead of walnuts.

Position an oven rack in the center of the oven and preheat the oven to 375F.  Line a heavy rimmed sheet with parchment paper.

For the Dressing: In a large bowl, whisk together the mustard, thyme, lemon zest, lemon juice, olive oil, salt and pepper until smooth.  Remove 3 tablespoons of the dressing and reserve.

For the Salad: Add the potatoes to the bowl and toss until coated with dressing.  Arrange the potatoes in an even layer on the prepared baking sheet.  Season with salt and pepper.  Roast until golden and tender, about 40 minutes.

In a large bowl, toss together the reserved 3 tablespoons dressing, the bell pepper, and the arugula.  Arrange on a platter.  Spoon the roasted potatoes on top and sprinkle with the nuts.  

Cook's Note: To taste the walnuts, arrange in a single layer on a baking sheet.  Bake in a preheated 350F oven until lightly toasted, 6-8 minutes.  Cool completely before using.

Per Serving: Calories 290; Protein 6g; Carbs 32g; Dietary Fiber 5g; Sugar 3g; Total Fat 16g; Sat Fat 2g; Sodium 477mg


Sunday, April 13, 2014

Slater's Classic Bangers and Mash


We're celebrating Classic British fare over at I Heart Cooking Clubs this week so I cooked up a batch of Bangers and Mash.  The term "bangers" derives from a time when sausages were made with more water and had a tendency to explode if not cooked carefully.  Nigel has a few cook's tricks I've shared below to keep your sausages from splitting or exploding. 

My family loves a classic sausage and potato dish and this dish was well loved by all.  The flavor of the onion gravy marries perfectly with the sausages and mashed potatoes.  I'm also a fan of adding a little mustard to the sausages for a little more flavor.  A delicious and quick meal that the whole family enjoyed!


Classic Bangers and Mash
Recipe adapted via The Guardian
by Nigel Slater
Serves 4


Lightly brown a couple of decent butcher's sausages per person in a little fat or oil in a heavy pan (I prefer cast iron). Push them to one side and cook a peeled and quartered onion for each person, broken into layers, on the other side of the pan. Keep the pieces of onion quite large. Once they are deep gold and caramelized, sprinkle over a generous dusting of flour and allow to brown very lightly. Pour in about 125ml of rich stock per person, bring to the boil, season, then simmer for 20 minutes. To make the mash, boil the potatoes (I used medium potato per person) in lightly salted water or steam them till tender enough to mash. Use a thick slice of butter per person (I also added a couple tablespoons of mascarpone cheese), and beat till light and fluffy. Serve with the sausages and onion gravy.

Cook's Trick: Cooking sausages slowly will stop them splitting and allow a good, sticky coat to develop on their skins. Once the sausages are nicely browned you can let them finish cooking in the gravy. After crushing the potatoes with a potato masher, beat them again with a wooden spoon to incorporate some air and make them light and fluffy. Keep the onions in large pieces and let them cook slowly, allowing their edges to caramelise before adding the flour.

For a little Twist: Stir a little grain or smooth Dijon mustard into the sauce. Use Madeira or dry Marsala in place of some of the stock. Add a couple of sage leaves to the sauce. Mushrooms, quartered and fried off in a little butter and stirred into the gravy, would be something to consider, as would a little grated horseradish root.


Theme: Fit For A Brit!

Sunday, April 6, 2014

Nigel Slater's Smoothie in a Bowl

We've started cooking with someone new over at I Heart Cooking Clubs.  We will be cooking the recipes of British cook, Nigel Slater, for the next six months.  I'm still waiting to receive my copy of Tender in the mail, but I found this recipe for his Smoothie in a Bowl online and I couldn't resist it.

I'm all for sipping a smoothie on the go, but I'm definitely a fan of this Smoothie in a Bowl because I'm all about those toppings and garnishes. So many possibilities!  In fact, I'd say this would be a very good dish to keep in mind when entertaining.  Blend up the fruit.  Pour the mixture into a pitcher. Then set out lots of different toppings and garnishes: yogurt, berries, sliced bananas, granola, nuts/seeds, etc.  I think everyone would really enjoy customizing their own bowl!


Smoothie in a Bowl
by Nigel Slater
recipe via theguardian.com
Makes 2

1-1/2 cups blueberries
1 cup raspberries or strawberries
1 banana
To serve: extra banana, berries, toasted oats, nuts, yogurt

Blend berries with one banana until desired consistency.  Pour mixture into two bowls.  Garnish with slices of banana, berries, oats, nuts, and a dollop of yogurt.  Enjoy!


Sunday, March 30, 2014

Mini Corned Beef Pot Pies and a Donna Hay Roundup!

I love corned beef and always buy one in March so I can enjoy one or two Ruebens.  Afterwards I always use the leftovers to make some corned beef hash, which makes for an awesome Sunday breakfast.  This time around I wanted to try my hand at these Mini Corned Beef Pot Pies and wow I'm I glad I did!  These little babies are excellent! 

The recipe begins with a simple white sauce, or roux, to which you can add onion, carrot, cubes of potato, and/or peas.  I added what I had on hand, which was half an onion and about a cup of frozen peas, but I think adding potato would make these even better!  We loved these pot pies and everyone made me promise to make them again next year!


Mini Corned Beef Pot Pies
Adapted from Donna Hay website
Makes 4 individual pies

2 tablespoons butter
2 tablespoons flour
2/3 cups chicken stock
1-1/4 cup milk
1 cup cooked corned beef, shredded or cubed
1 cup frozen peas
2 tablespoons chopped parsley
1 sheet puff pastry
1 egg, lightly beaten

 Notes: This recipe was created using Donna Hay's recipe for corned beef which includes a little carrot and onion.  If you'd like carrot and onion added to your pot pie then you may wish to saute one onion and one carrot in a little butter until somewhat tender and then add this to the pot pie filling.  

Preheat oven to 400F.  Melt the butter over low heat and add the flour, cook, stirring for 5-7 minutes until golden and sandy in texture.  Gradually whisk in the stock and milk, increase the heat to medium and cook about 5 minutes or until thickened.  Add the corned beef, and onion/carrot mixture*, peas, and parsley and stir to combine.  Place your ovenproof dishes (should be 4 dishes with 1 cup capacity) down on the puff pastry and cut out 4 rounds that are slightly bigger than your ovenproof dishes.  Remove the ovenproof dishes and place them onto a foil-lined baking tray. Spoon the pot pie filling into the dishes.  Place the cut puff pastry rounds over the filling.  Brush the pastry with the egg.  Decorate tops with various herbs and/or additional onions (if using).  Bake for 20 minutes or until the pastry is puffed and golden.


Our time with Donna Hay is coming to a close at I Heart Cooking Clubs.  We've cooked with many cooks/chefs over the years, but I must say that cooking with Donna has been extremely pleasant and somewhat effortless. Donna's recipes are simple, straightforward, and completely stress-free. I found myself looking forward to making her recipes and never once felt overwhelmed by the task.  I will definitely look to her recipes in the future when I am pressed for time and in the mood for fuss-free recipes.

Below are my Donna Hay favorites from the past six months in no particular order.  If you click on the recipe name you will be directed to the original post.